Photography for me is one of the best ways to hone in on my skills as a creative. The principles that shooting photos teaches you allows you to learn more about lighting, composition, storytelling, and more.
Here are some of my tips I’ve learned over the years to level up the way you shoot photos:
1) Look For Different Angles
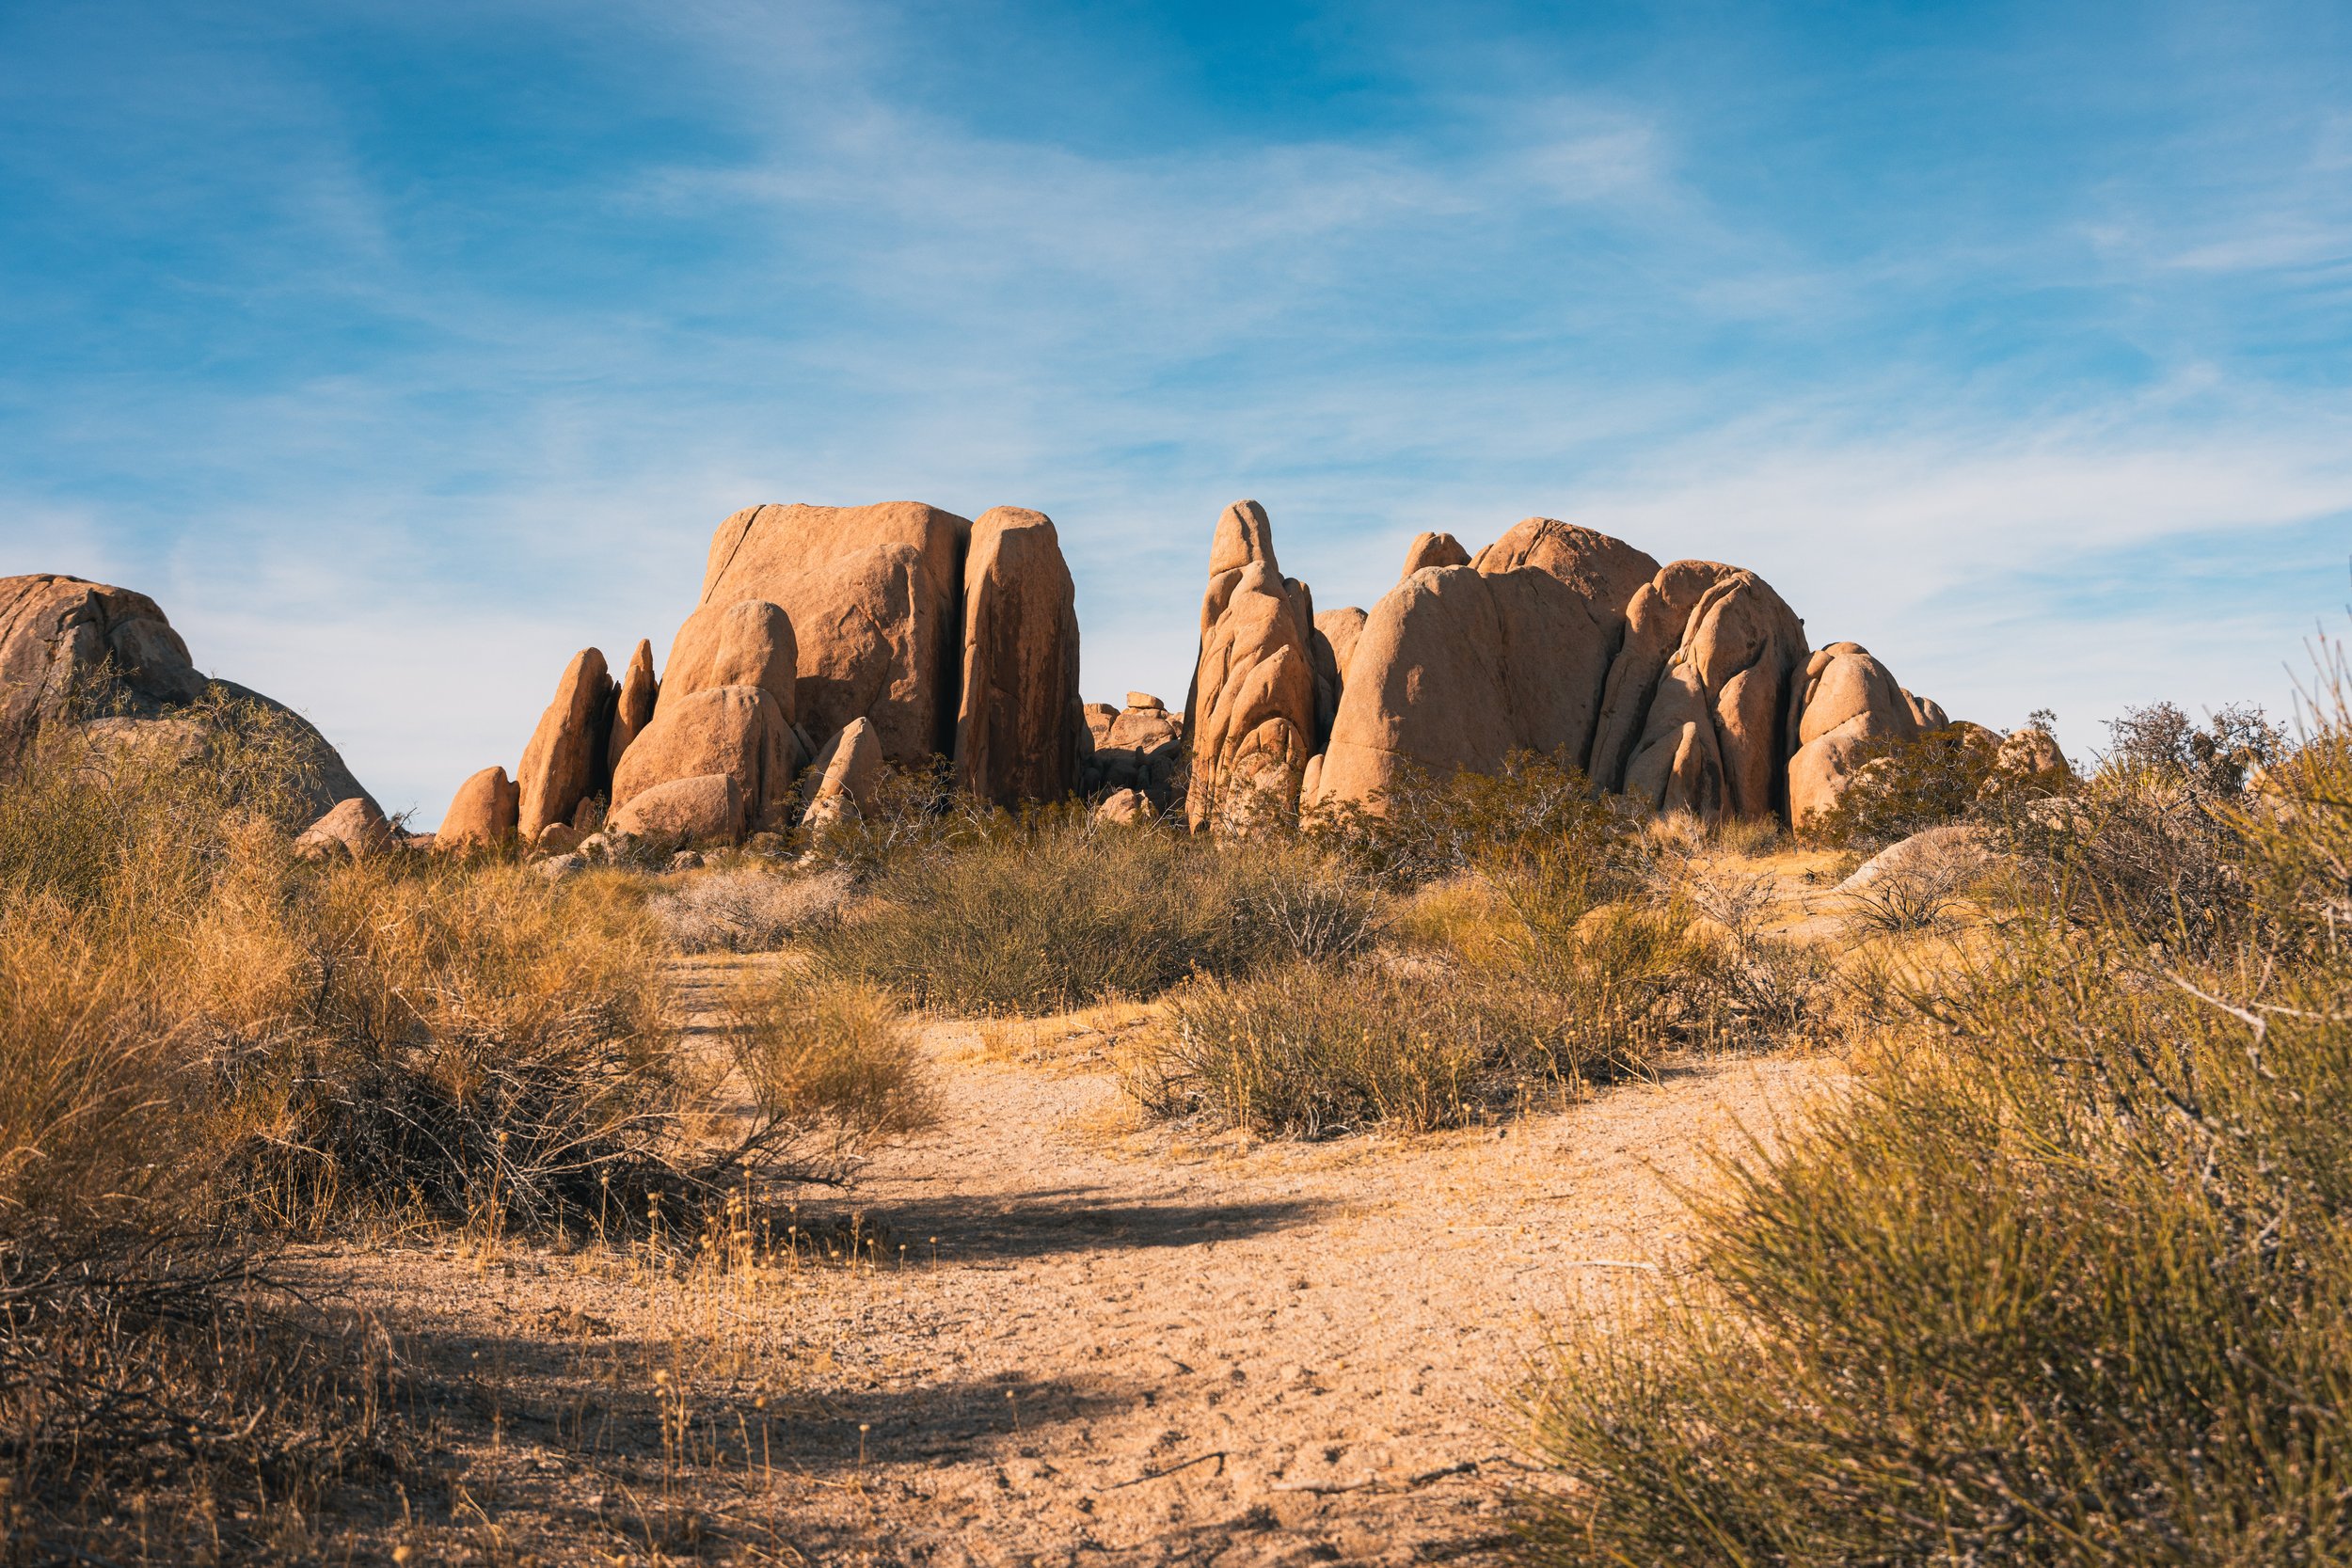
Often, we find ourselves shooting at eye level when taking photos, as it seems like the most natural thing to do when we draw our viewfinders up to our eyes. But, an easy way to enhance the diversity of your photography is to actively seek new angles to shoot from. Crouch down to get a lower perspective, or get even lower by placing the camera on the ground. Shoot from hip level. Try out a dutch angle, where you tilt the camera roughly 45 degrees in either direction. Point the camera straight at the ground or up to the sky. These are all just possible examples, but this is a great opportunity to really let your imagination run wild and shoot from all angles. Below is an example of a recent photo I took in Joshua Tree National Park, where I crouched lower to the ground to get more of a low angle, grand shot of these large rock formations.
2) Try Out “Natural Frames”
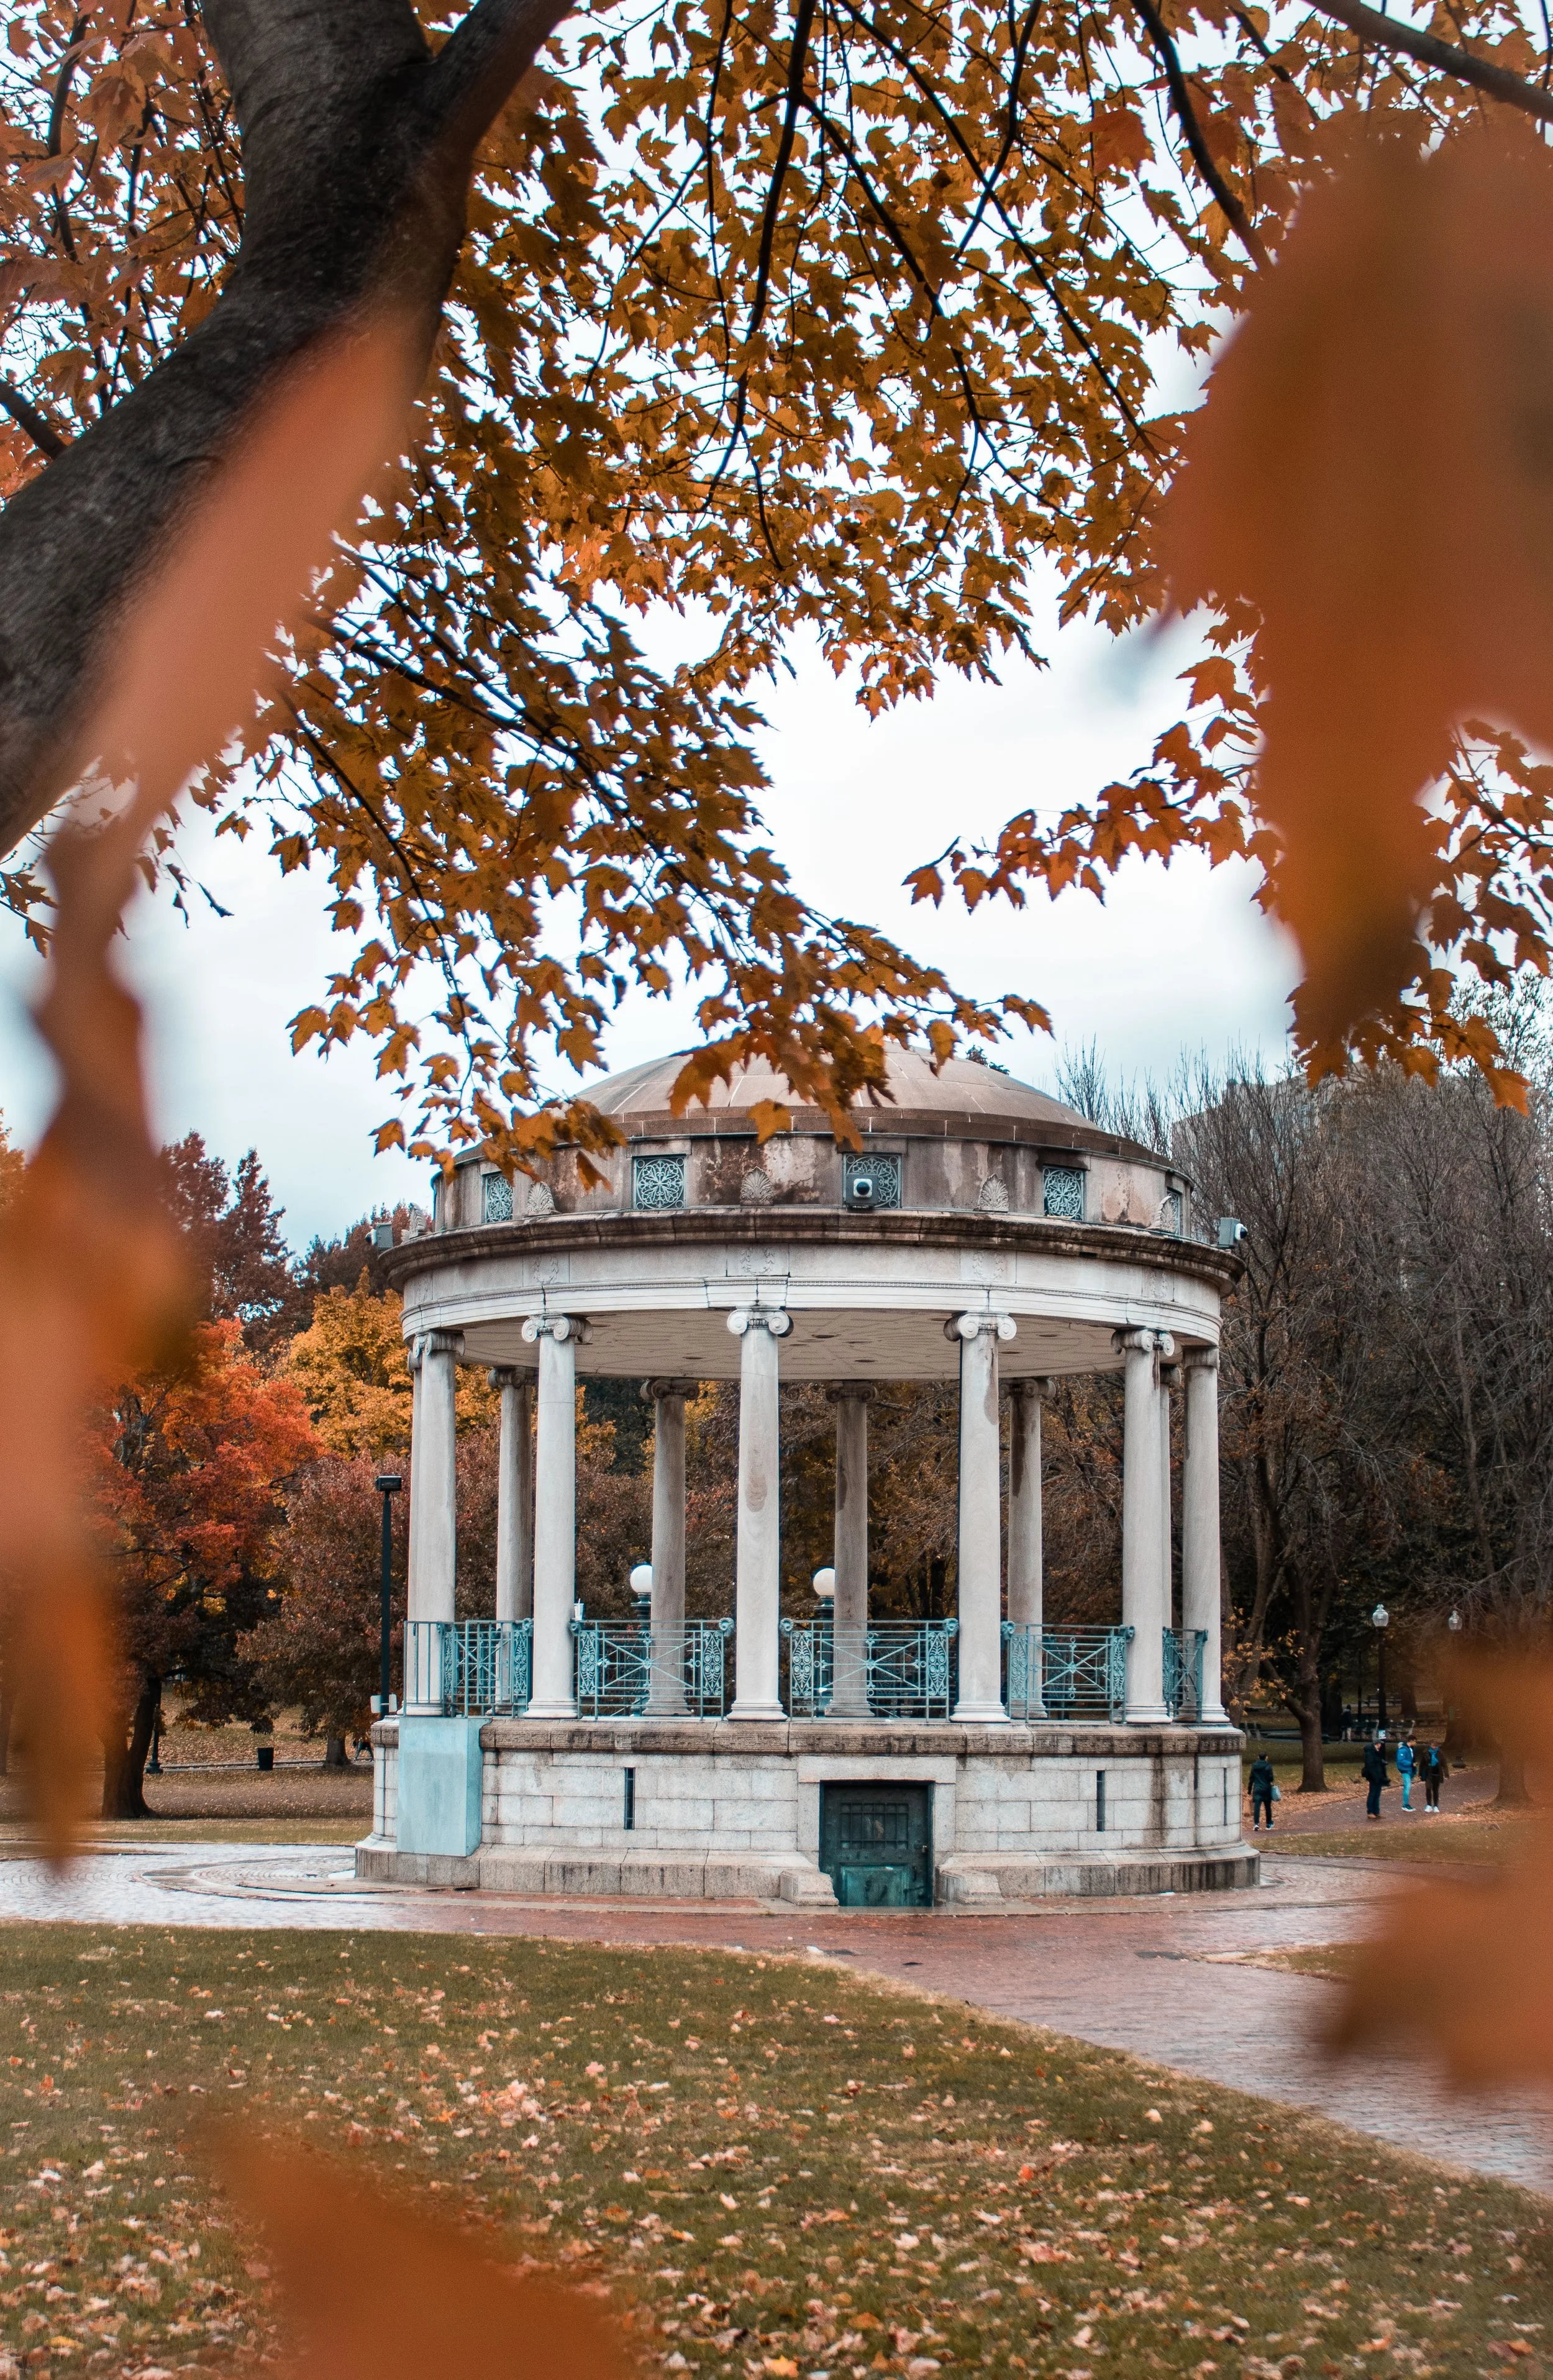
This is one of my favorite things to do when shooting photos. This is potentially easier with some categories of photography than others. I often take landscape or nature photos, and I love to search for “natural frames” in the environment around me. A specific example would be during the fall season, looking for low hanging branches with changing leaves to shoot through. Doing this creates a level of depth and focus in the image that otherwise might not be possible. Below, you can find an example of a photo of mine from a fall photo adventure in Boston a few years back where I put this into practice.
3) Keep In Mind The Time Of Day & Weather
What time of the day you’re shooting and what the weather conditions are has a huge effect on the style and lighting composition of your photos, particularly if you’re shooting outside.
Sunrise and sunset are often ideal, because the light is more diffused and pleasing.
Mid-day, especially if it’s sunny outside, the lighting can be harsh when the sun is at it’s highest, brightest point in the sky. This creates harsh contrast between shadows and highlights.
When shooting landscapes and street photography, I often find overcast days to be ideal, since the clouds create diffusion, even under mid-day sun conditions. The only downside is that, depending on what you’re shooting, the cloudy sky can have an effect on the tone of your photos, potentially making them more moody. A blue sky conveys a brightness and generally more positive tone in an image.
Shooting at night, when the sun is mostly gone, provides it’s own unique challenges. You need to have a camera that performs well in low light situations, to prevent noise from ruining your image, or some sort of adequate light sources to bring up the exposure. This could be something more natural to the environment, such as shooting objects under a street light or next to a bright neon sign, or something more artificial by bringing in lights or flashes.
The photo above that I took of the Parkman Bandstand in Boston is a good example of thinking about a lot of these aspects - it’s overcast, so the lighting is very even and diffused, and it had just rained, which makes the pathways glossy and adds an overall moody tone to the image. All of which was accentuated by the way I edited the photo to add contrast.
4) Think About Lens Choice
Choosing the right lens for your photography is essential, as it aids heavily in the storytelling aspect of your photography. Taking photos at different focal lengths not only effects the physical result of your photography, but can elicit different moods and meanings.
Wide angles have a tendency to create grand, powerful images of subjects looking larger than life. Medium shots can create a “normalcy” to an image, simply capturing a slice of life, as medium focal lengths tend to mimic what we see out of the human eye. Long focal lengths can often create an intimate closeness and focus, separating a subject prominently from it’s background.
For more on what lens might be right for you, check out my previous blog post, “The Best Lenses When You’re Starting Out.”
5) Think About Scale/Juxtaposition In Your Photos
Juxtaposition is the act of placing two elements close together, often to highlight the contrast between the two. When I’m taking photos, one of my favorite ways to create this contrast is to position people or objects in a scene that adds a certain grandness to the scene. A good example of this is in this photo below that I recently took on a trip to Joshua Tree National Park.
I could have easily not included the hiker in the photo. In fact, I took a few versions of this exact photo where the hiker had not stepped into frame just yet. But, by including the hiker in the photo, it creates a sense of scale. The hiker seems so small in comparison to the environment around him, with the towering rocks along his path. Including the hiker also creates depth because they are more in the foreground, and what is on the path ahead of them is more in the background. These two details, the positioning and size, create this grandness to the image that is even more apparent with the hiker remaining in the image. In addition to creating juxtaposition with position and size, you also can do this with other aspects such as light and color.


